Set up Apple Watch using VoiceOver
- IfApple Watch isn’t on, turn it on by holding down the side button (below the Digital Crown).
- On Apple Watch, turn on VoiceOver by triple-clicking the Digital Crown.
- Swipe right or left on the display to choose a language, then double-tap to select it.
- Swipe right to highlight the Start Pairing button, then double-tap.
- On iPhone, turn on VoiceOver by going to Settings > General > Accessibility > VoiceOver.
- To open the Apple Watch app, go to the iPhone Home screen, swipe right to select the Apple Watch app, then double-tap.
- To get iPhone ready to pair, swipe right to select the Start Pairing button, then double-tap.
The “Hold Apple Watch up to the Camera” screen appears. - To try automatic pairing, point the iPhone camera at the watch from about 6 inches away.
When you hear the pairing confirmation, you can skip to step 14. If you have difficulty, you can try manual pairing, steps 9 through 13. - Swipe right to select the Pair Apple Watch Manually button, then double-tap.
- On Apple Watch, find your Apple Watch ID: swipe right to the Info About Pairing Apple Watch Manually button, then double-tap. Swipe right once to hear the unique identifier for your Apple Watch—it’ll be something like “Apple Watch 52345”.
- On iPhone, select your Apple Watch: swipe right until you hear the same Apple Watch identifier that you just heard on Apple Watch, then double-tap.
- To get your pairing code, on Apple Watch, swipe right until you hear the six-digit pairing code.
- Enter the pairing code from Apple Watch on iPhone using the keyboard.
When pairing succeeds, you hear “Your Apple Watch is paired.” If pairing fails, tap to respond to the alerts, then Apple Watch and the Apple Watch app on iPhone reset so you can try again. - When pairing is complete, on iPhone, swipe right to the Set Up Apple Watch button, then double-tap.
- To choose your wrist preference, swipe right on the Wrist Preference screen to select Left or Right, then double-tap.
- Review the terms and conditions, swipe right on the Terms and Conditions screen to select Agree, then double-tap. Select and double-tap Agree in the alert that appears.
- To enter the password for your Apple ID, swipe right to the Enter Password button, double-tap, then enter the password for the Apple ID you use on your iPhone. Then double-tap the Return key in the lower-right corner of the keyboard.
- To choose a Location Services option, swipe to your choice, then double-tap.
- To choose a Siri option, swipe to your choice, then double-tap.
- To create an Apple Watch passcode, swipe right on the Passcode screen to select Create a Passcode, then double-tap. On Apple Watch, enter a four-digit passcode of your choice, then reenter to confirm. Swipe, tap, or drag your finger around the display to select a number, then double-tap.
- On Apple Watch, choose whether to unlock Apple Watch when you unlock iPhone.
- To choose whether to install additional apps on Apple Watch, swipe to highlight Install All or Choose Later on iPhone, then double-tap.
Apple Watch syncs with iPhone. This takes a few moments—swipe to Sync Progress on iPhone to hear progress. When you hear “sync complete” Apple Watch is ready to use, displaying the watch face. Swipe left or right to explore watch face features. For information about using VoiceOver with Apple Watch, see VoiceOver.


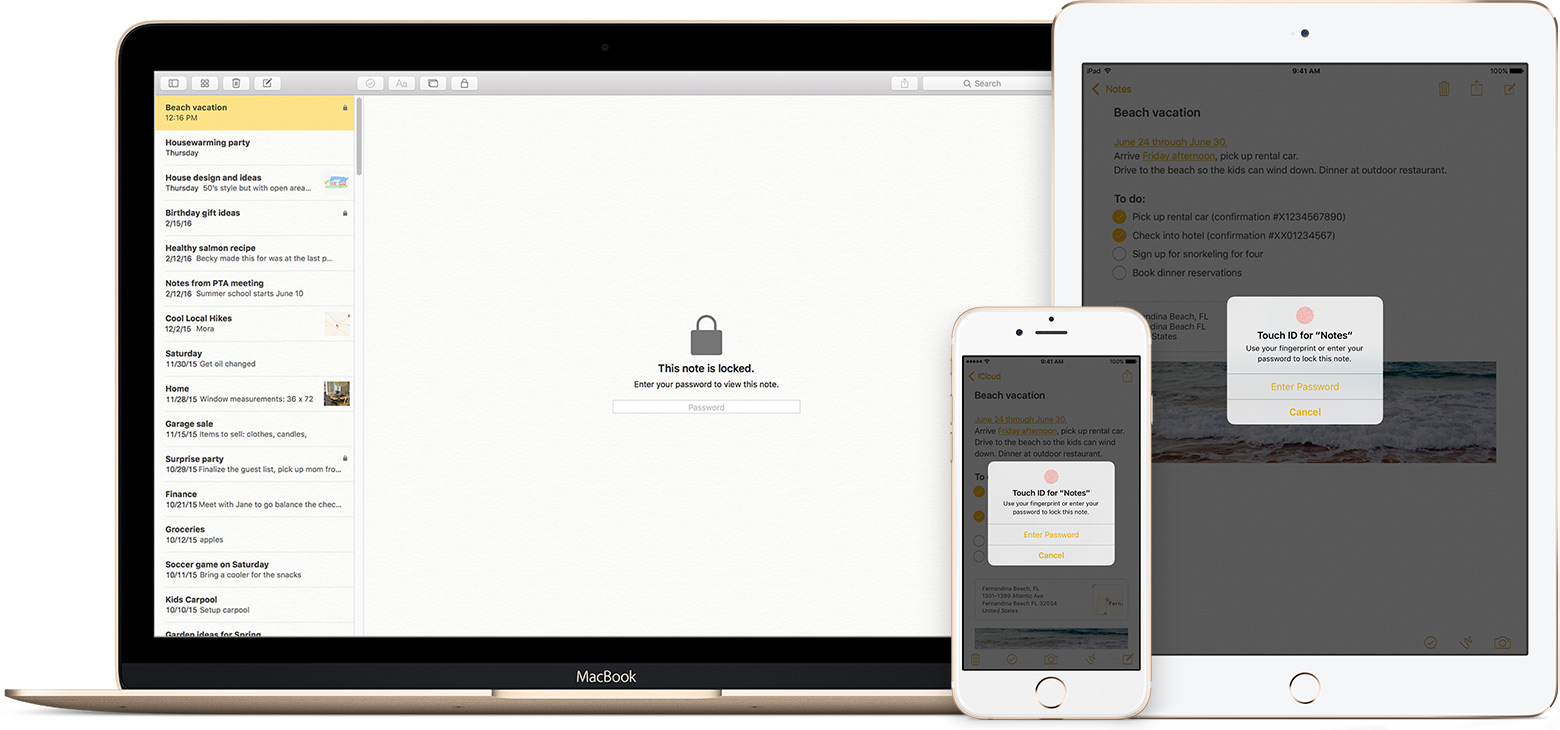


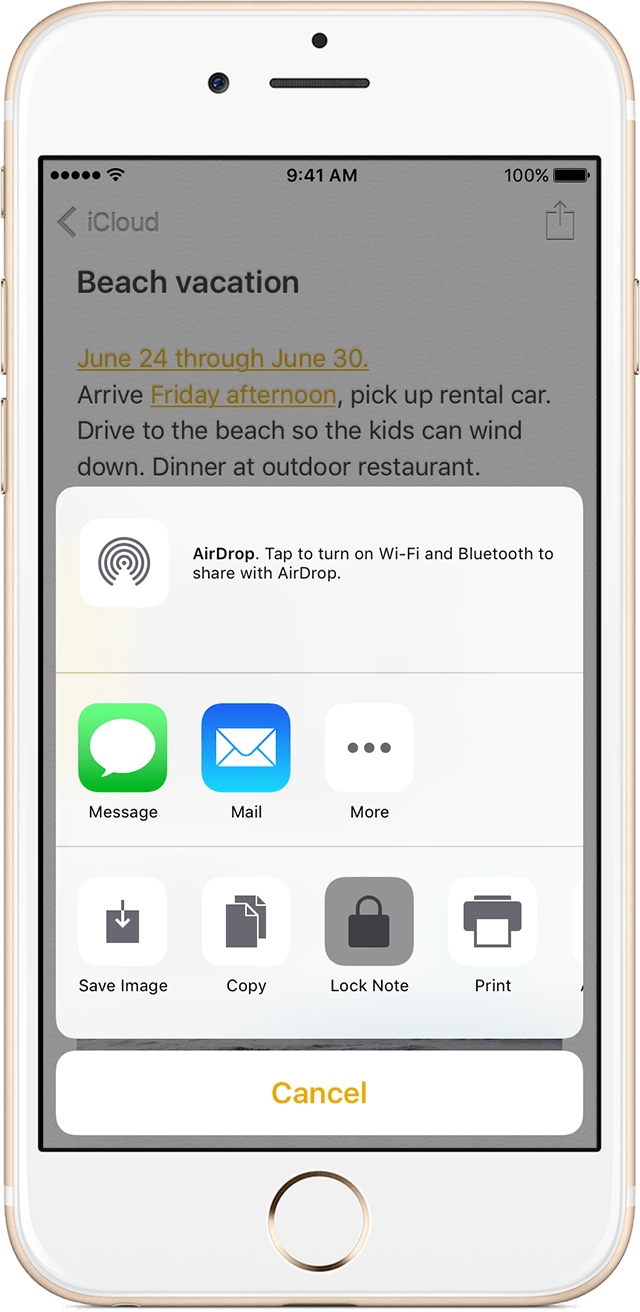
 > Lock Note.
 next to the note. Until you enter your password or use Touch ID, you only see the title and the last date that it was edited.
 at the top of the screen. You can hide the note's contents when you tap
  .
.