
Navigation Basics

The Home screen: When you first turn on your device, you’re brought to the Home screen. Here, you’ll see an assortment of icons grouped into rows, and several more icons grouped in the silver Dock along the bottom of the screen. The Home screen is where your apps live, and where you can launch them. Because only 16 apps will fit on one Home screen (20 on the iPad), you can have multiple app pages or screens for organizing your apps (up to 11). Above the Dock, you’ll see a series of dots, with one highlighted in white; these dots signify the number of app pages you have. Swipe left or right to go from page to page.
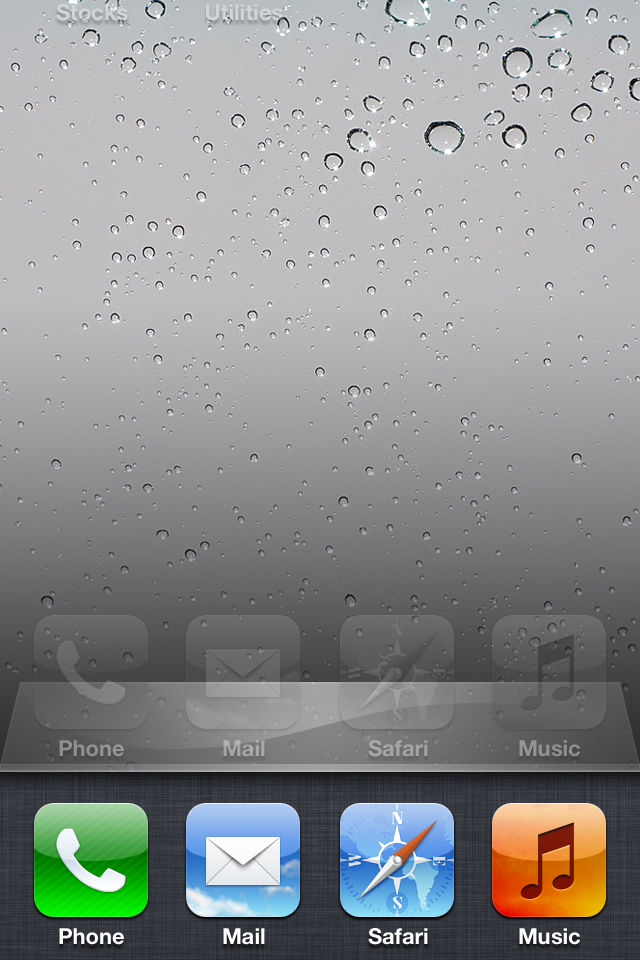
The Dock: The silver translucent bar along the bottom of your Home screen is called the Dock. If you’ve tried swiping between app pages, you’ll notice the icons in the Dock don’t change. That’s because the Dock is for apps you most frequently use; instead of having to swipe from page to page to find an app, you can drop it directly into the Dock for easy access. You can store up to four apps in the Dock.
Search in Spotlight: You can search for every email message, webpage, and app on your device, or search through Google or Wikipedia, by swiping right on your Home screen until you reach Spotlight. (If you're on the first Home screen page, pressing your Home button also summons the Spotlight screen.) To search, just type your query in the text box at the top.
Open and close an app: Want to launch an app? To open it, all you have to do is tap its icon. Once it’s open, you can return to the Home screen at any time by pressing the Home button.

Rearrange and delete apps: To rearrange the order of your icons, tap and hold any icon on the Home screen. After a few seconds, all your app icons, including the one you’re holding, will start to wiggle, and a small black X will pop up in each icon’s top left corner. Once they do this, you can rearrange any apps on the Home screen, or even drag them into or out of the Dock. If you’ve installed a third-party app you don’t want anymore, you can tap the X to delete it (you cannot delete the apps that came preinstalled on your device). When you’re finished, press the Home button, and your icons will stop wiggling and stay in their new location. You can also rearrange your icons and Home screen pages through iTunes when you connect your device to your computer.
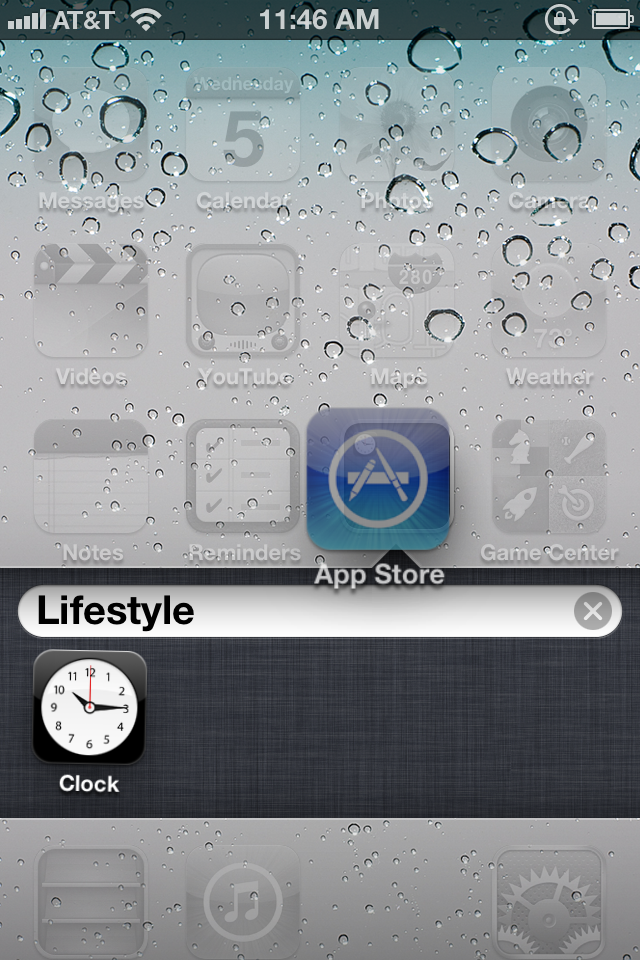
Note that you’re not able to delete the built-in apps that come with your iOS device. These include Camera, Photos, YouTube, Clock, Weather, and the all-new Newsstand folder, among others. You’ll be able to tell which apps you can’t delete—they don’t sport the black X. You are able to move around these built-in apps to your liking, however.
Use folders: Having a bunch of apps scattered on your Home screen is OK if you don’t have too many, but when you start amassing a collection, you can use app folders. A folder is a group of apps, represented by a single icon, on your Home screen. Each folder sports miniature icons representing the apps inside, along with an overall name. When you tap a folder, the Dock fades and slides down, making room for a view of the folder’s contents. Within, you’ll find the name and icon for each app. Tap any app to launch it, or tap anywhere outside the folder to return to the Home screen.
To create a folder, start by tapping and holding any app icon to enter edit mode; after the icons begin to wiggle, drag an app on top of another app. When you release the app, you’ll create a folder, which will open and display both apps. By default the folder is named based on the App Store category for one of the first two apps in the folder. If you want to customize this name, just tap inside the field (while still in edit mode) and enter something new. When you’re done, press the Home button to exit edit mode.
To add another app to the folder, reenter edit mode and drag the desired app onto the folder icon. Repeat until you’ve added all the apps you want (up to 12 per folder on the iPhone or iPod touch; 20 on the iPad), and then press the Home button to exit edit mode.
To edit the folder itself, its name, contents, or the layout of the apps inside, you can either enter edit mode and then tap the folder, or, while the folder is open, tap and hold any icon inside. You can then tap the folder’s name to change it, drag apps within the folder to rearrange them, drag an app out of the folder to return it to the Home screen, or tap an app’s Delete button to completely delete it from your device. Unlike apps, folders don’t have a Delete button; to delete a folder, you must remove all the apps from it.

Manage folders from iTunes: iTunes has long allowed users to manage installed apps when syncing, and you can edit your folders too, using your mouse and keyboard. When your device is connected to your computer, the Apps tab in iTunes lets you choose which apps to sync, as well as decide how to organize these apps. Drag an app onto another app and, after a slight delay, a folder is created—just as if you’d performed the same action on your device. You get the same editable folder name, and you can rearrange icons within the folder. Since you’re using a computer, you don’t need to click and hold to enter the jiggling-icon edit mode; you can click and drag anytime. Similarly, to edit an existing folder, just double-click it.
Multitask on your iOS device
Opening and closing an app is easy: Tap the app to open it, and then press the Home button to close it. But when you exit, you’re not actually shutting down the app: You’re freezing it in place, or sending it to run in the background. This means you can have multiple active apps running at any one time, and you can even switch between active apps without returning to the Home screen.
Frozen apps versus background apps: Sometimes you need an app to keep doing something when it’s not in the foreground. For that reason, Apple allows apps to perform tasks in the background using several tools. One of these tools is the push-notification system; another allows music apps to keep playing while the user switches to another app; yet another allows tasks, such as photo uploads, to continue running in the background even if you switch out of the program performing the upload. If your third-party app doesn’t incorporate one of these background features, it will “freeze”, which is to say it will remember whatever you were just doing when you re-open it, but will not process any data in the background.
The multitasking bar: You can quickly switch between apps by bringing up the multitasking bar. To do so, quickly double-press the Home button; a bar below the Dock will rise up from the bottom of the screen, showing off the apps most recently run. To switch to a different app, tap its icon.
Multitasking shortcuts: In addition to holding a list of your most recently used apps, the multitasking bar has a couple of other neat shortcuts for your device.
If you swipe up from the bottom with one finger, you’ll bring up a secondary set of controls. On the iPhone or iPad, you can control the music currently playing on your device, (it defaults to the Music app, but you can also control music from third-party apps).
device's brightness, slider for controlling volume. Airplane mode, wi-Fi, bluetooth, do not disturb, AirDrop, flashlight, Calculator, camera, lock.

